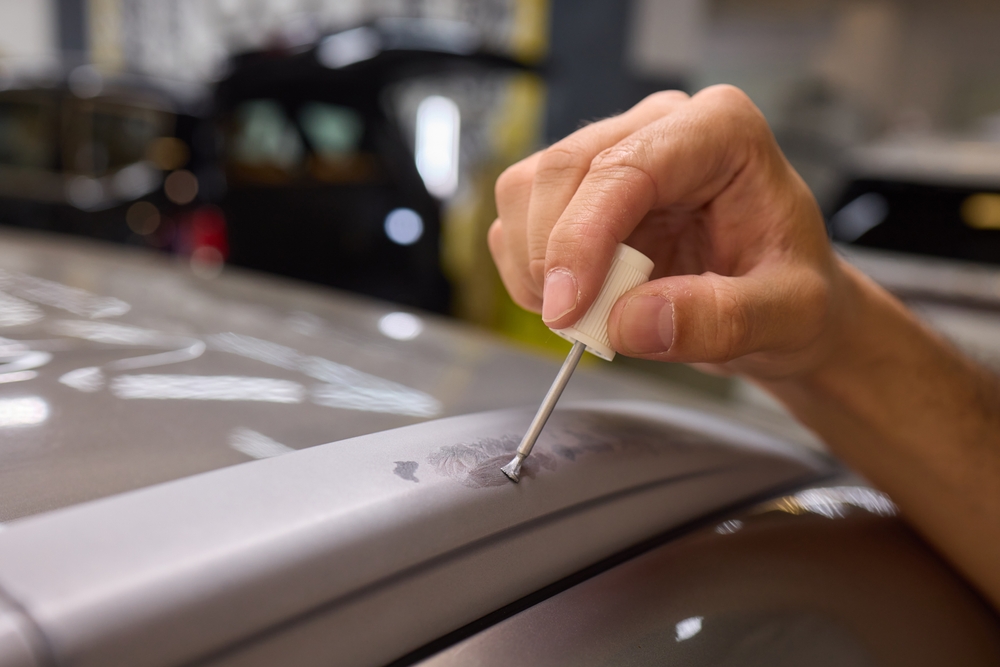
Paint chips are an unfortunate reality of owning a vehicle. While those tiny blemishes can detract from your car’s overall appearance, they’re not impossible to fix. With a bit of time and the right tools, you can restore your car’s paint to its original glory, making it a breeze to drive that new-to-you car off the lot with confidence after visiting your favorite used car dealer in Evansville.
What Causes Paint Chips?
Before we get into the repair process, let’s understand what causes them. Several factors can contribute to paint chips:
- Road Debris: Small rocks, gravel, and other debris kicked up by tires can impact your car’s paint, causing chips.
- Weather: Harsh weather conditions, such as hailstorms, can damage your car’s paint.
- Accidents: Minor bumps and scrapes can lead to paint chips.
- Age: Over time, paint can naturally become brittle and more susceptible to chipping.
DIY Paint Chip Repair: A Step-by-Step Guide
Now, let’s explore how to fix those paint chips:
Tools and Materials:
- Touch-up paint matching your car’s color code
- Clear coat
- Fine-grit sandpaper (2000 grit or higher)
- Rubbing compound
- Polishing compound
- Microfiber cloths
- Toothpicks or fine-tipped brushes
- Car wash soap
- Wax
Step 1: Assess the Damage
Carefully examine the paint chips. If they’re minor and don’t expose bare metal, you can likely fix them yourself. However, if the chips are extensive or have led to rust, it’s best to consult a professional.
Step 2: Clean the Area
Thoroughly wash the chipped area with car wash soap and water to remove dirt and debris. Dry the area with a clean microfiber cloth.
Step 3: Sand (If Necessary)
If there are any rough edges or raised areas around the chip, lightly sand them with fine-grit sandpaper. Be gentle to avoid damaging the surrounding paint.
Step 4: Apply Touch-Up Paint
Carefully apply touch-up paint to the chip using a toothpick or fine-tipped brush. Start with a thin layer and let it dry completely. Add additional layers until the chip is filled and level with the surrounding paint if necessary.
Step 5: Apply Clear Coat (Optional)
If the chip is significant or in a prominent area, apply a layer of clear coat over the touch-up paint to protect it and enhance its gloss.
Step 6: Sand and Polish
Once the touch-up paint and clear coat are fully dry (refer to the product instructions for drying times), gently sand the area with fine-grit sandpaper to smooth any imperfections. Then, use a rubbing compound and a microfiber cloth to buff the area and remove any scratches caused by sanding. Finally, polish the area with a polishing compound to restore its shine.
Step 7: Wax
Apply a coat of wax to the repaired area to protect it and blend it in with the rest of the car’s paint.
Visit the Best Used Car Dealer in Evansville
Looking for a used car with minimal blemishes and a clean record? Visit us at Edge Autosport, the best used car dealer in Evansville. Our team will help you find a vehicle you’re sure to love!
Contact us today to learn more about our inventory and financing options.

